iOS App Settings
Watch Video play_circleFollow the steps below or watch the tutorial video to setup your iOS apps for push notifications and Create Apple Push Notification Service (Production & Sandbox) Certificate.
Step 1: Login to your Apple Developer Account
Login to your Apple Developer Account, and go to Certificates.
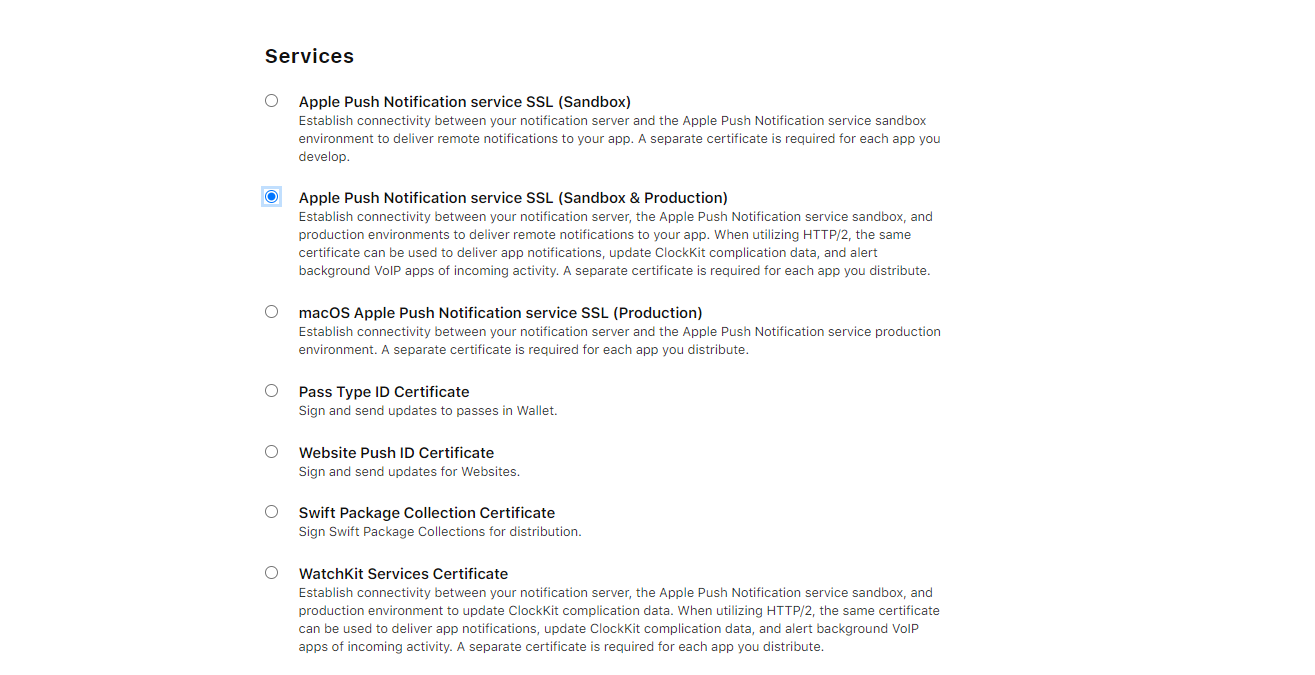
Step 2: Create a new Certificate
Create a new Certificate, and select "Apple Push Notification service SSL (Sandbox & Production)" option under Services.
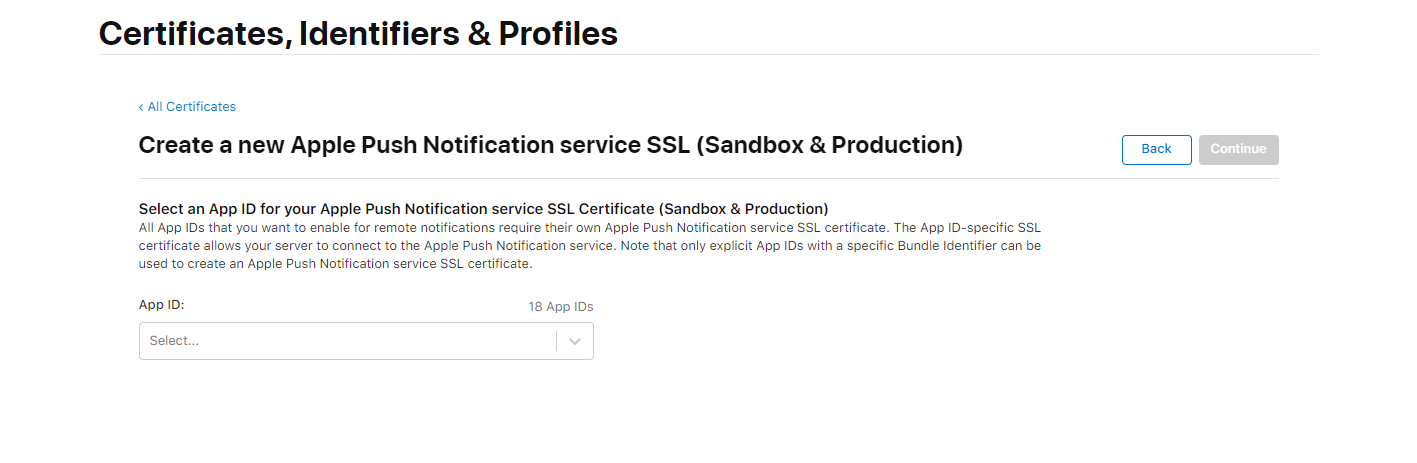
Step 3: Choose App
Select the app from the list you're setting up to use with this Certificate. This will be the app you exported to XCode. After selecting the app, hit Continue.
Step 4: Pick your Requst Signing Certificate
Pick your Request Signing Certificate. If you don't know how to get Request Signing Certificate from a Certificate Authority, then follow the next steps. However, if you already know how to get a Signing Request from a Certificate Authority, skip to Step 7.
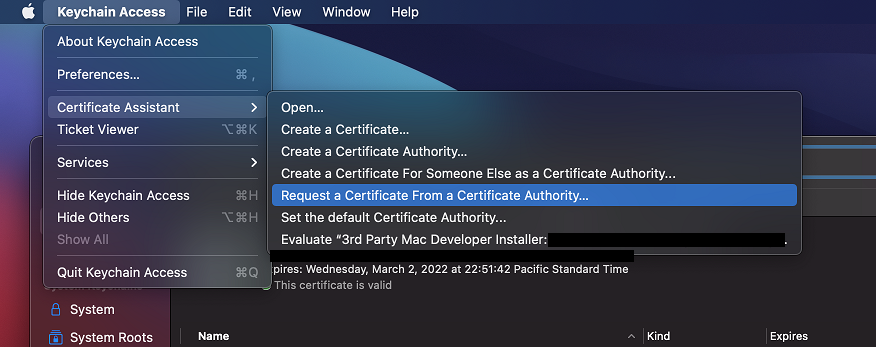
Step 5: Request a Certificate from a Certificate Authority
To request a Certificate From a Certificate Authority, head to your Keychain on your Mac, click Keychain Access and scroll to click "Request a Certificate From a Certificate Authority". Follow the prompts after, and make sure to save it to the disk.
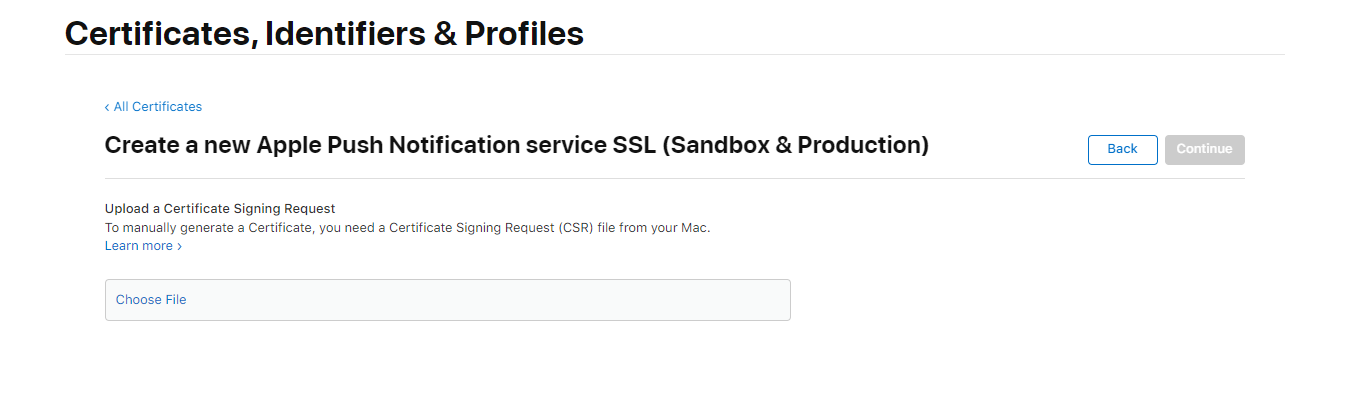
Step 6: Upload Certificate Signing Request
After Step 5, utilize the newly created Certificate Signing Request and upload it to the Apple Developer Portal.
Step 7: Install Certificate to Keychain
Download the newly created Certificate from the Apple Developer Console and install it to your Mac's keychain by double clicking it.
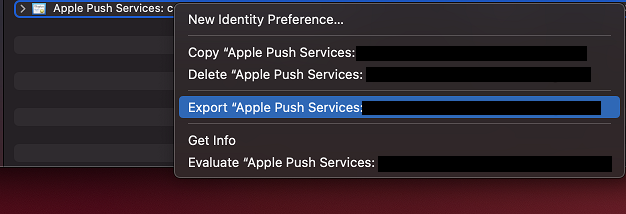
Step 8: Export Certificate as .P12 File
Go to your keychain and right click to export the newly added certificate as a .P12 file.
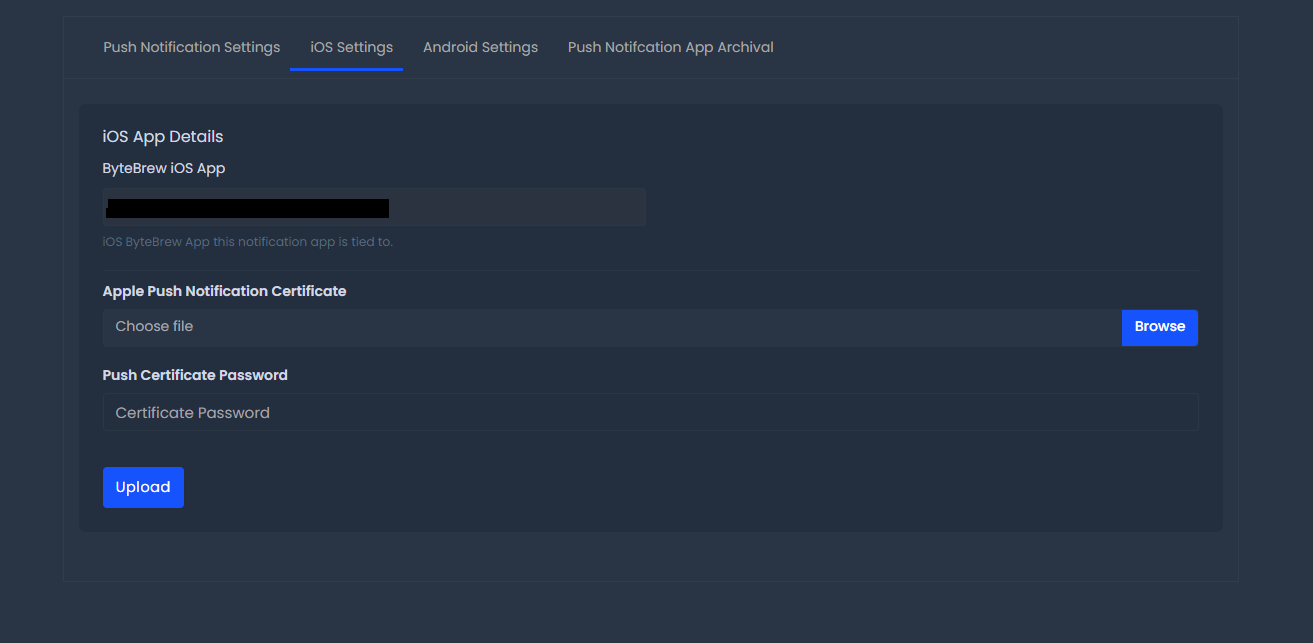
Step 9: Upload .P12 File
As the final step, upload the .P12 file to your Push Notification App settings and type in the password of the .P12 on the ByteBrew dashboard.
Android App Settings
Watch Video play_circleFollow the steps below or watch the tutorial video to setup your Android apps for push notifications.
Step 1: Add Firebase Project
Add a Firebase Project on to your Firebase Console and configure the Android ByteBrew App.
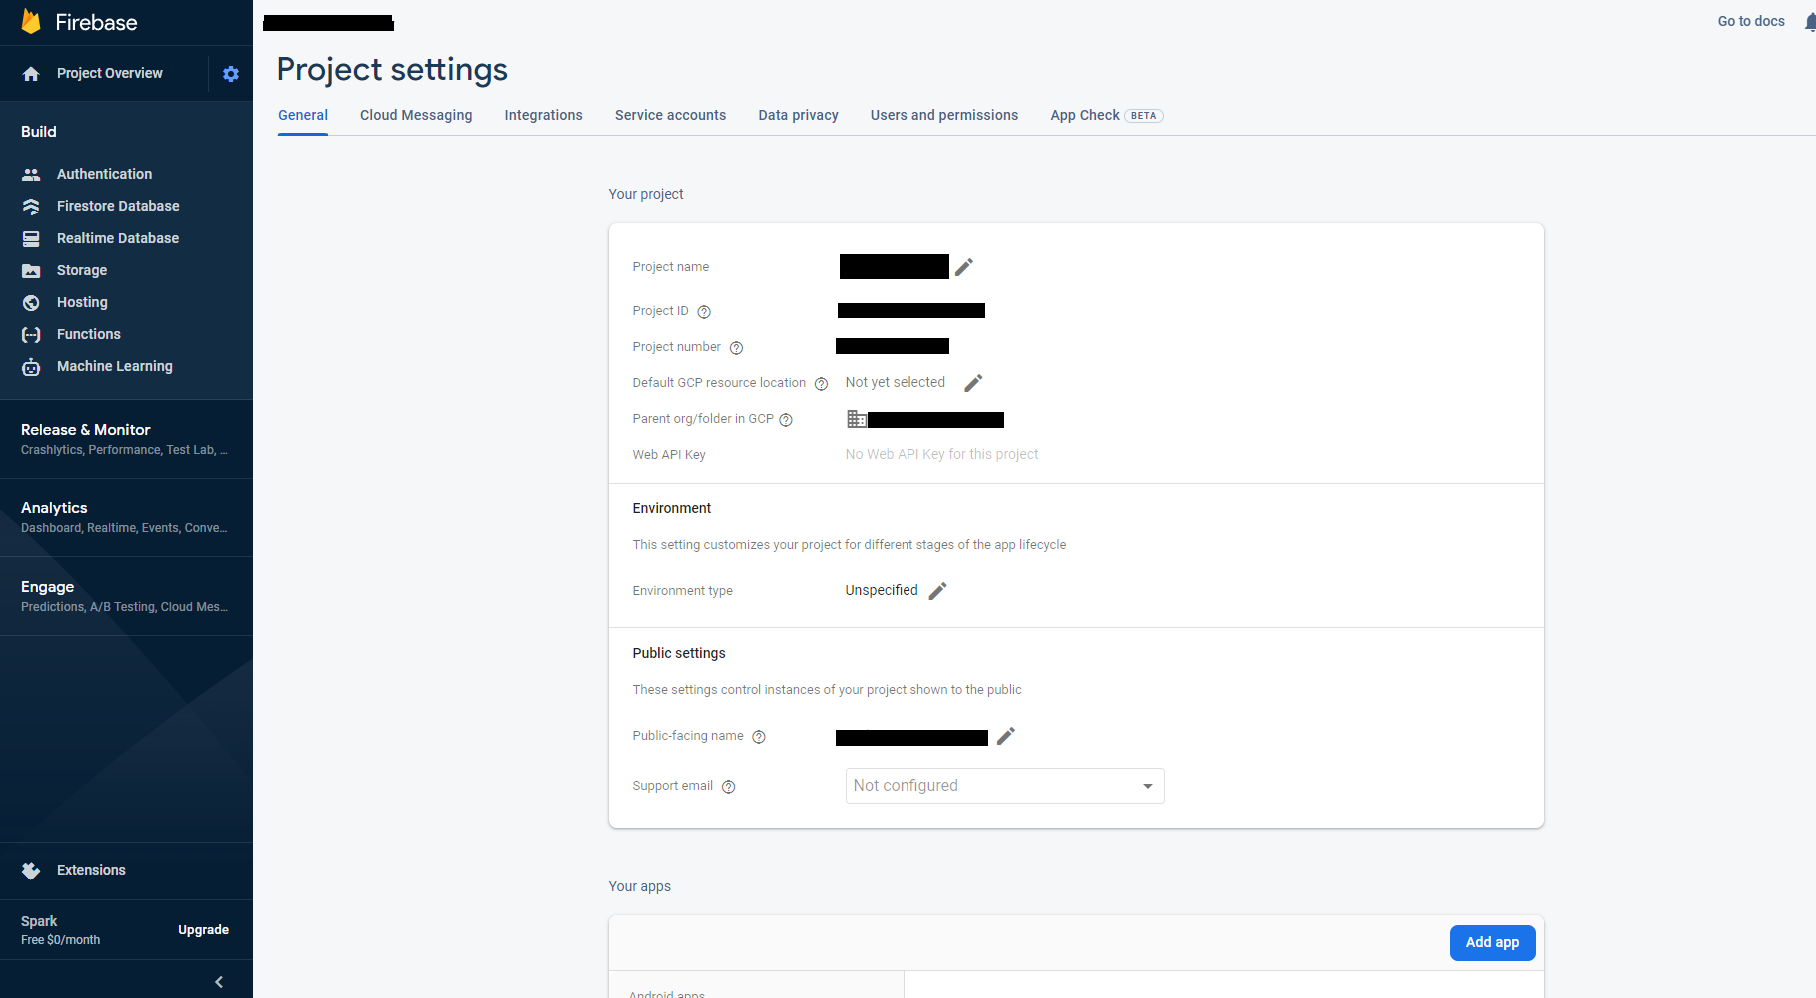
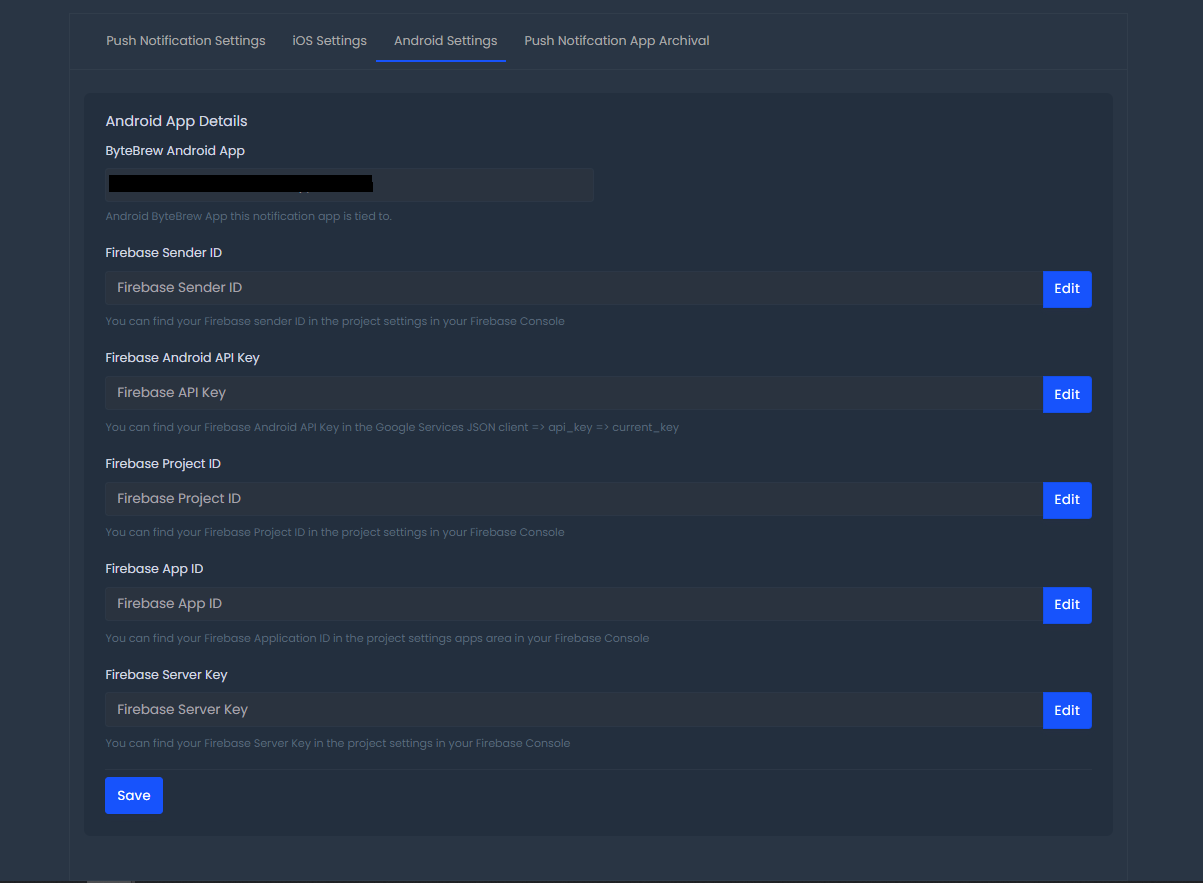
Step 2: Configure Firebase Project Settings
Go to your Firebase project settings to get the following configurations to input into the corresponding fields on the ByteBrew dashboard.
Firebase API Key: Under "Your Project" locate the "Web API Key" to input on the ByteBrew dashboard.
Firebase Project ID: Under "Your Project" locate the "Project ID" to input on the ByteBrew dashboard.
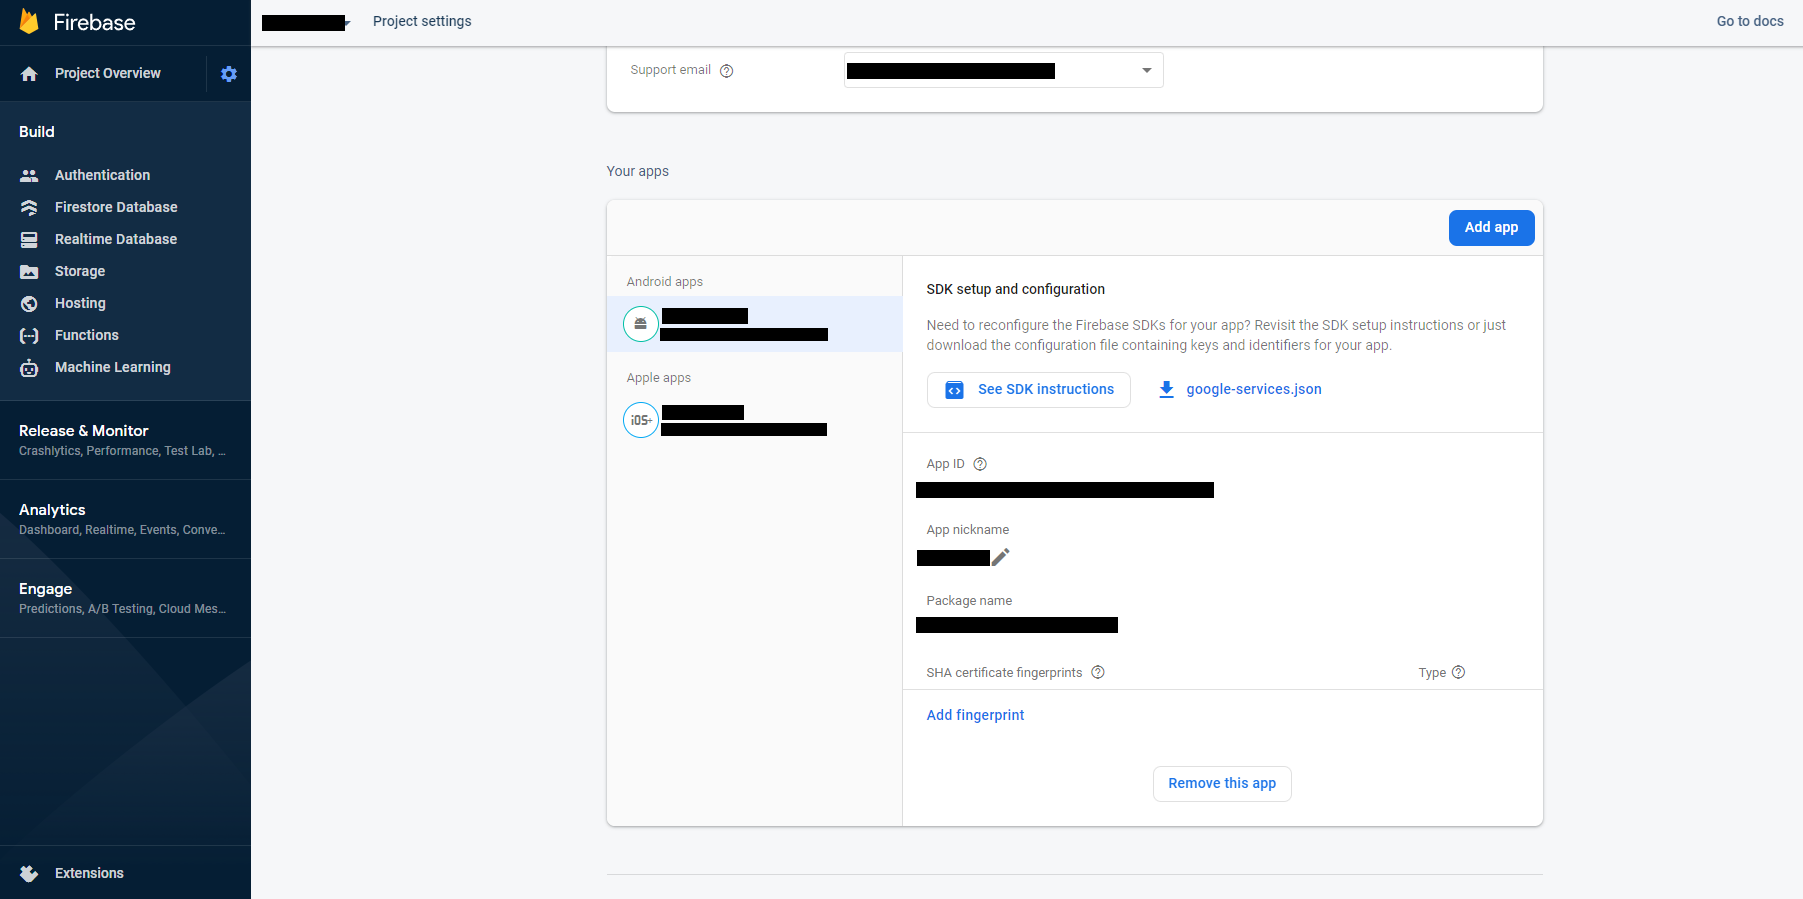
Firebase App ID: Under "Your Project" locate the "App ID" to input on the ByteBrew dashboard.
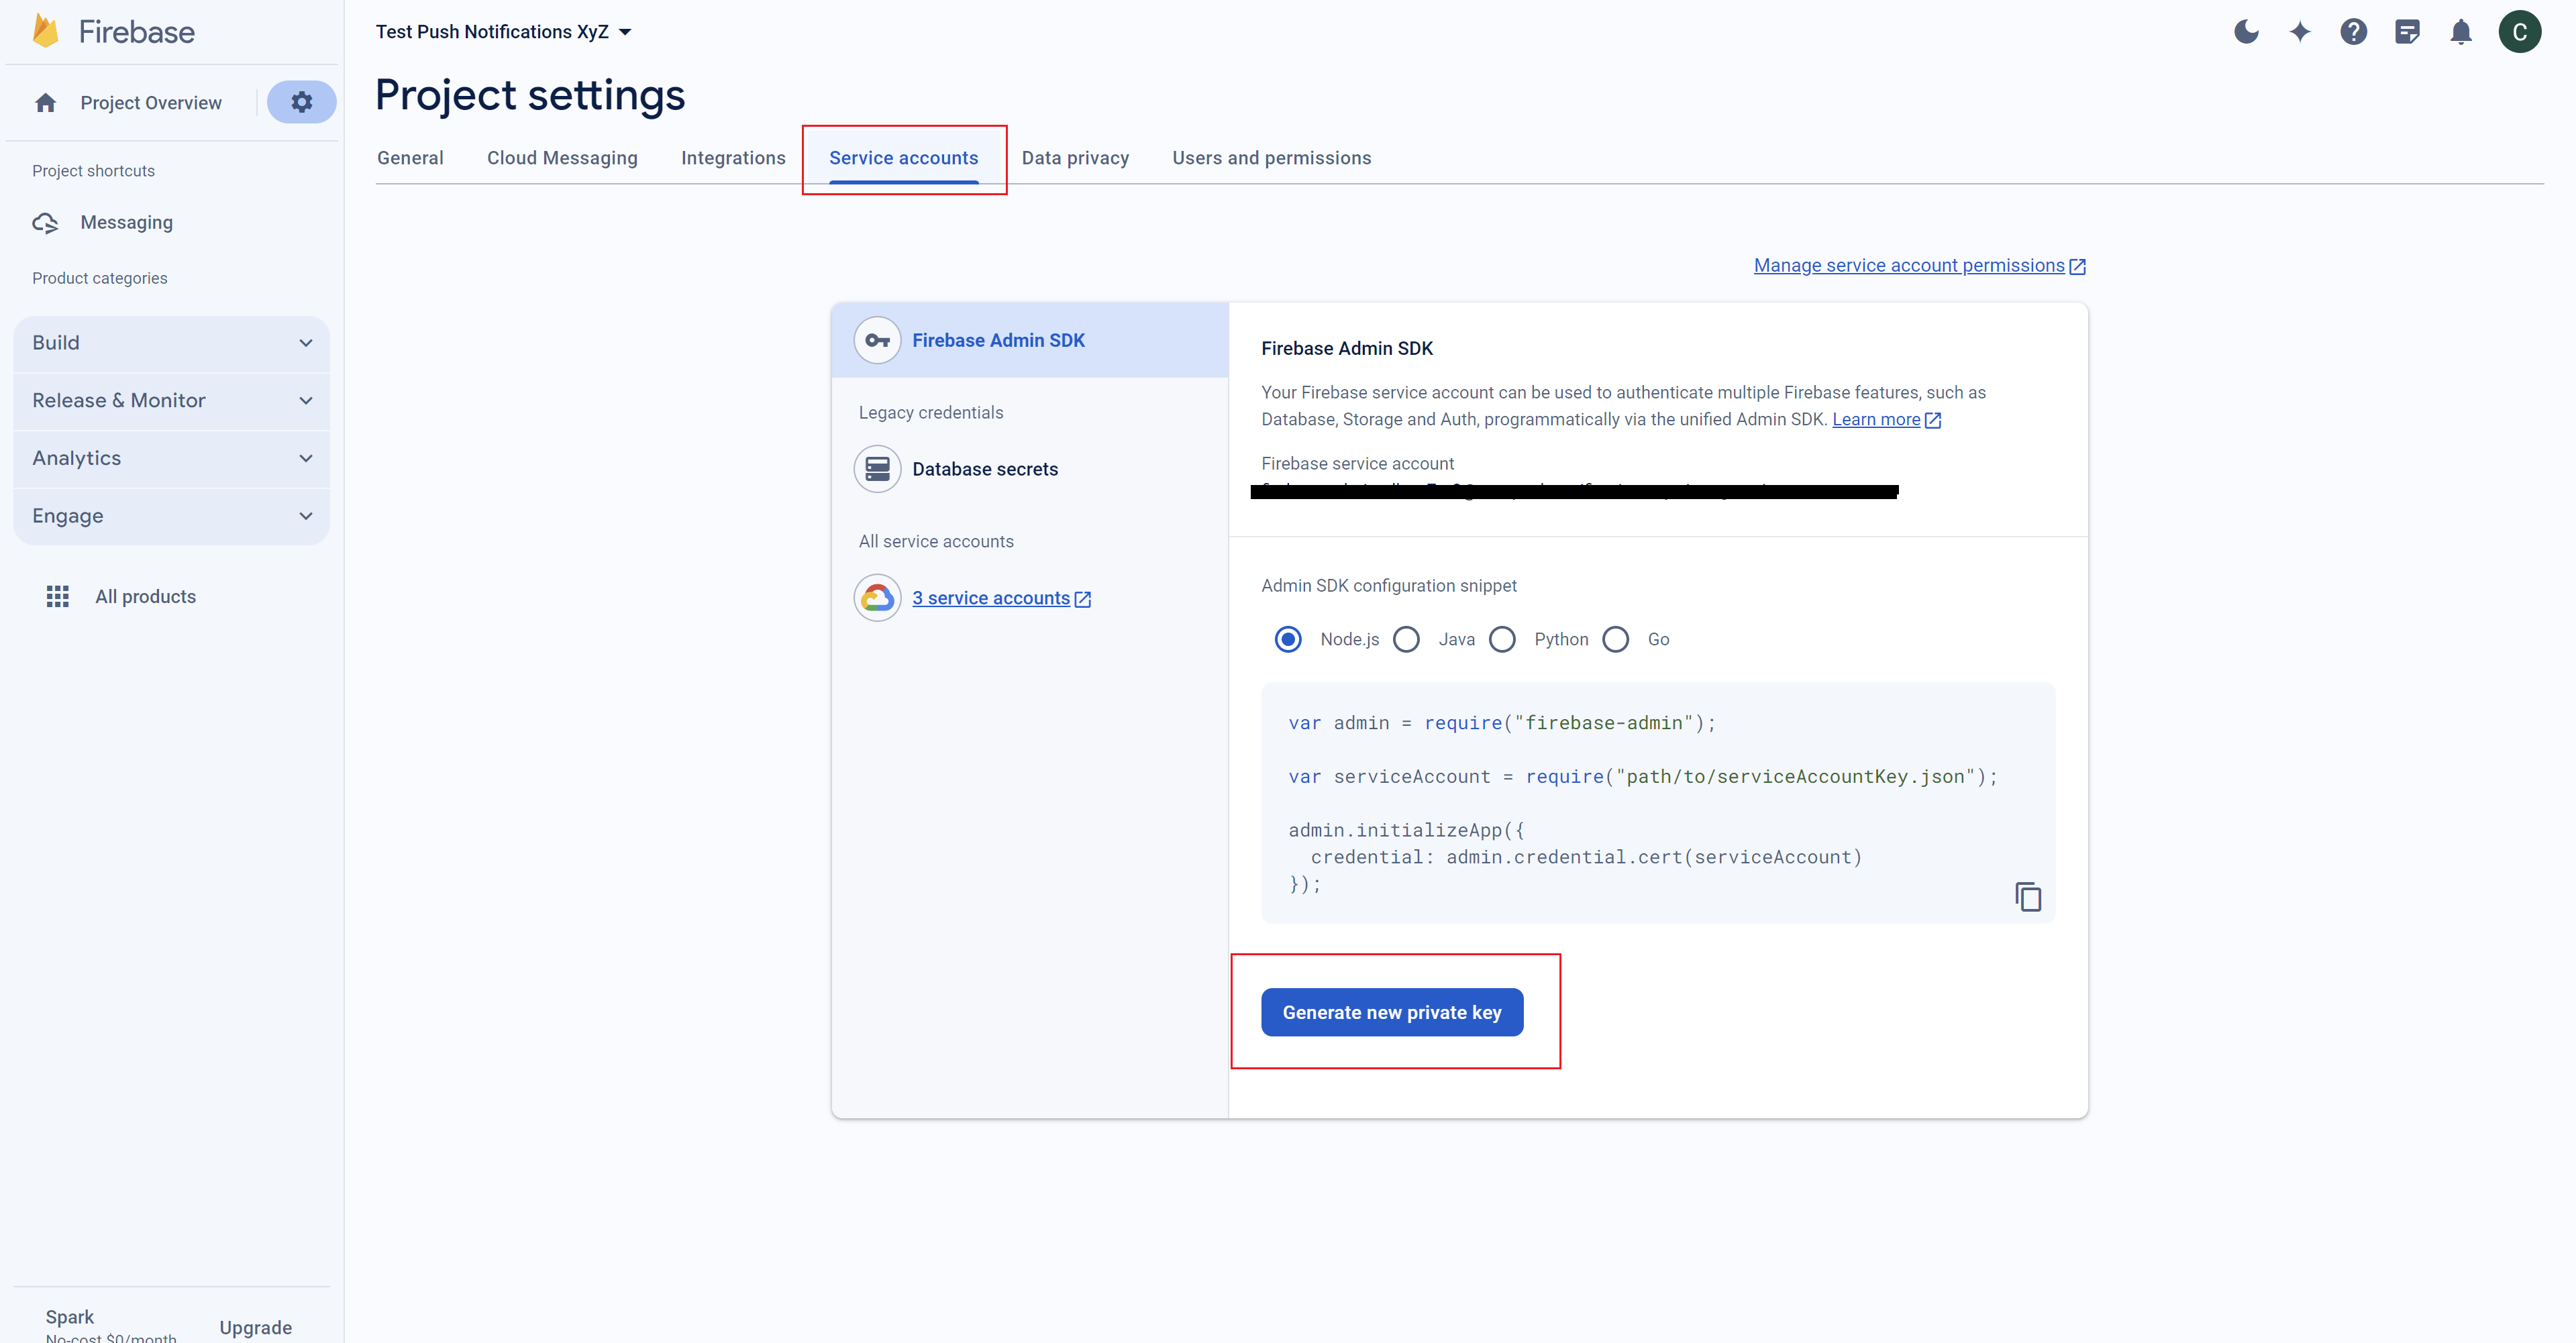
Step 3: Upload Firebase Service Account File
To fill "Firebase App Service Account (New)" Go to your Firebase project settings and Generate a service account file.
In Service Accounts, under Firebase Admin SDK click "Generate new private key".
If a warning prompt shows, go ahead and still click "Generate key".
Then upload the file to the ByteBrew Push Notification Android settings under "Firebase App Service Account (New)".
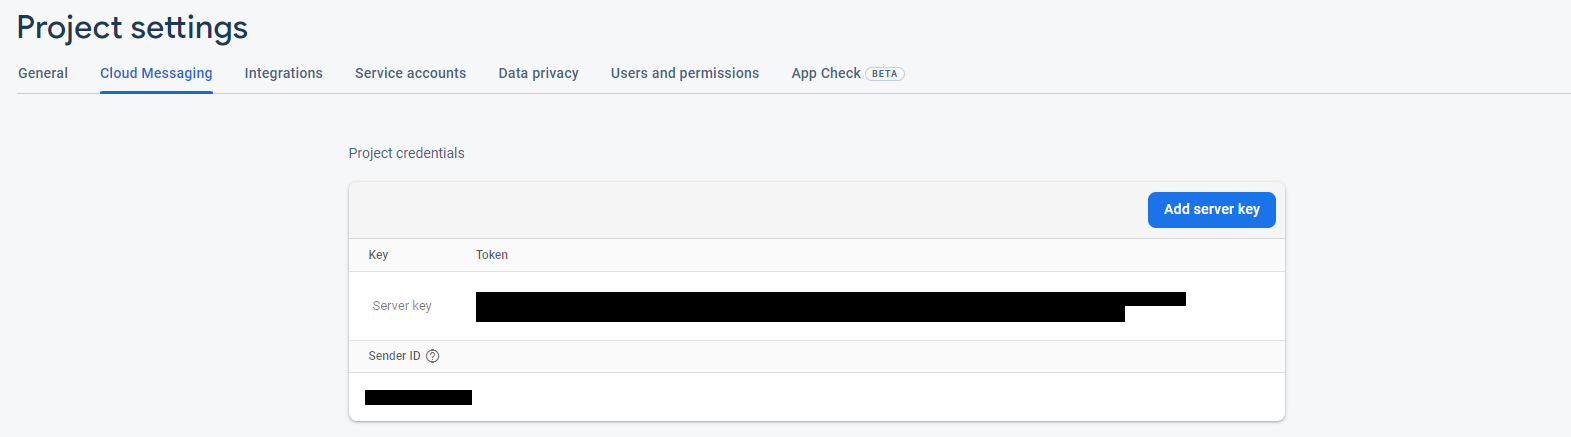
Step 4: Find Sender ID
As the final step for Android, find the Sender ID and the (Optional, Legacy) Server Key in the Cloud Messaging Tab of your settings and input them into the corresponding fields on the ByteBrew dashboard.
Locate and input Firebase Sender ID to the ByteBrew dashboard.
(Optional, Legacy) Locate and input Firebase Server Key to the ByteBrew dashboard, this is a legacy key and no longer required.